The Lament stands tall among Remnant 2‘s myriad dungeons, daring adventurers to best its lethal traps and vexing conundrums. Situated deep within the shifting dunes of Yaesha, this ancient stone maze conceals coveted relics and armor for those clever enough to seize them. Consider this your guide through the gauntlet, revealed by a gamer who has uncovered all its secrets through blood, sweat, and reloads.
Let‘s delve into The Lament.
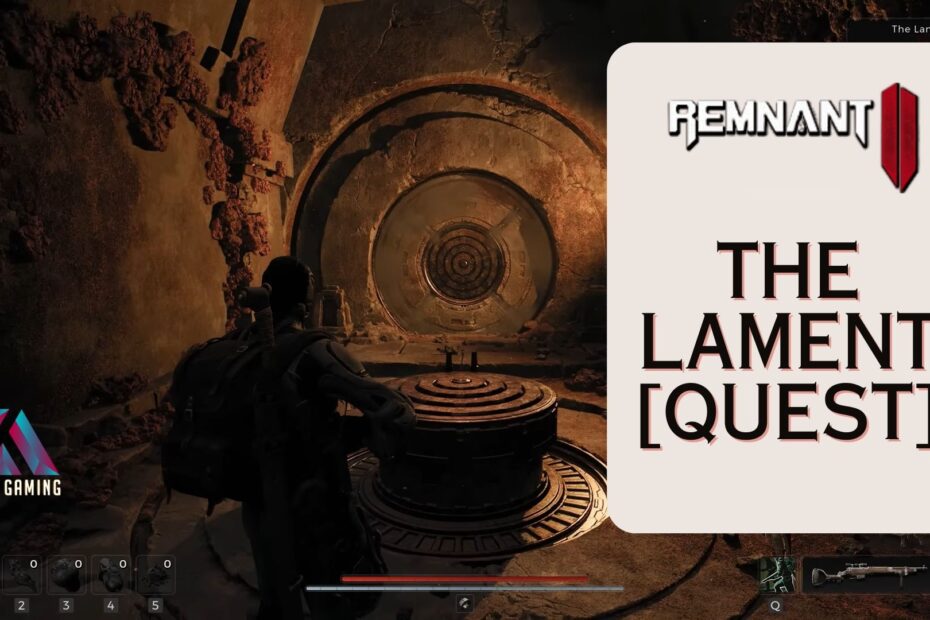
Locating the Enigmatic Entryway
Pinpointing The Lament‘s entrance proves nearly as tricky as solving its inner workings. Unlike most static dungeons, its gateway spawns randomly somewhere amidst Yaesha‘s seas of sand. Through repeated scourings of the deserts however, telltale landmarks consistently surround the area:
- Rocky outcroppings and high mesa plateaus
- Half-buried remnants of stone architecture
- Packs of elite Sand Worn Scavengers and Dust Jaws
- Potent Sandstorm Shamans chanting spells
These cues indicate you‘ve entered The Lament‘s orbit. Now search nearby cliff faces for its etched archway, glowing with cyan runes. Beware the Desiccated Martyrs that often vigilantly guard it, mummified fanatics still loyal in death.
Once discovered, the stone doors grind open at your touch…and your true test begins.
Surviving the Arrow Gauntlet
Immediately upon crossing the threshold into darkness, pressure plates click underfoot – you‘ve already initiated a deadly mechanical process. Hearing the creak of aged machinery, brace for projectiles as the Entry Hall‘s arrow traps activate.
Spanning a precarious 20 meter gap ahead, a narrow stone walkway gets bombarded from both sides by iron bolts launching from the walls. These fire intermittently, alternating sides with each volley in set patterns:
- Left arrow traps unleash every 2.5 seconds
- Right traps release salvos after 1.75 second delays
Their automated timing eliminates reactionary dodging – survival requires learning the cycles. Note the slots firing upon you, then move accordingly:
- With the first left side arrows incoming, hug the wall rightwards
- Sidestep left as the opposite trap unleashes
- Repeat this waltz, juking sideways to avoid each volley
- Meanwhile continually inch forwards; falling means instant death
- Jump the rotating blades swinging at the midway point
- At the end, right-side arrows bombard a lowered section demanding a crouch
- Cross the final gap during the last trap‘s cooldown to escape this deadly hall!
Reaching the far walkway, a prize awaits in a wall cache – the "Elemental Resistance" relic. Augmenting armor against corrosive attacks, its enchantments still thrive. Claim your first reward, then pull the nearby lever to progress.
Analysis: Surviving the Entry Hall heavily tests your dexterity and nerve, throwing you into a bullet hell situation immediately. But recognizing the alternating assault pattern and timing your movements accordingly leads to mastery. The real fiendishness? Later traps ramp things up exponentially…
Cracking the Cemetery Riddle
Afoot the stone corridor ahead resides perhaps The Lament‘s most cerebral challenge: the Symbol Riddle. Entering a sunken chamber of elaborate memorials, mysterious mechanisms now test your reasoning, not reflexes.
Four large plates adorn the chamber‘s rear wall, etched with arcane shapes. And a weathered tome lays among the room‘s Bone Pit, waiting to be inspected. Thumbing through reveals one symbol is meant to be matched here. But what could it signify?
- Interact with all Human Corpses strewn about the pit
- Check each body‘s icon, seeking ones identical to the journal‘s
- Four total will share its sigil – remember their locations
- When found, inspect the memorial stone hovering above each
- Unique symbols display upon their surfaces…this is the key
Having uncovered the plate matches, approach the chamber‘s centerpiece: a giant rotating pillar with rings of icon slots. Turning each ring lets you enter the matching emblems found on the marked graves.
- No order matters – simply input all four anywhere
- With everything aligned, pull the pillar‘s main lever
- The triumphant clank of gears echoes as you crack the code!
A barred door unseals nearby, permitting further passage. But more runic barriers still block the way. Onwards!
Analysis: This arcane test taxes memory rather than mobility, perfectly varying The Lament‘s challenges. Matching the book‘s symbol to specific graves takes careful deduction. And interpreting the icons on their memorials as puzzle pieces shows clever design. I greatly respected this brain teaser!
A long antechamber awaits beyond the Symbol Gate, oddly unadorned. Hugging the left wall however eventually reveals bloody scratches near some tiles – a hidden route! Smashing through leads into cramped catacombs…
Follow the claustrophobic tunnels, ignoring attacking Dried Corpses. Several twists later, the buried passage connects to a barred chamber – the Supply Cache. Inside rest valuable crafting resources:
- 2 Hardened Iron Shards
- 3 Vials of Oilskin Balm
- 5 Pinches of Relic Dust
- 500 Scraps
Gather your spoils but beware – the corridor onwards hosts another lethal test. Spiked pendulums unleash, hurtling from alternating wall slots ahead. Their sequence luckily proves predictable…
- First comes the left wall‘s deadly swings
- Count 2 seconds between each scything blade
- After every 3rd swing, the right wall launches spikes
- This delayed assault complicates things…
- Repeat the process, strafing left and right to dodge both walls‘ attacks
- Occasionally leap rolling forward helps avoid pendulums
- Stay focused until escaping this treacherous passage!
Few survive dashing that gauntlet unscathed. But lucrative treasures await in an ornate chest at journey‘s end…
Analysis: Secret passages hidden behind unassuming walls? Deadly spike traps around every corner? The Lament‘s maze-like nature certainly amplifies its mystique and threat. Navigating its occult infrastructure challenges the most studious explorers!
Claiming the Cultist‘s Regalia
Clearing the spiked hallway grants access to the Red Widow‘s Nest – private chambers of The Lament‘s past overseers. Within rests the elite bone-laced garb once worn by its enigmatic lord.
Known as the Red Widow Armor Set, this macabre attire looks carved from bloody carapace and ossified metal. Grisly yet exquisitely crafted, it contains:
- Red Widow Headdress (Head Armor)
- Grants 5% Damage vs Bleeding Enemies
- 8 Defense
- 3.4 Weight
- Red Widow Raiment (Body Armor)
- +10% Resistance to Corrosive Damage
- 45 Defense
- 23 Weight
- Red Widow Bracers (Hand Armor)
- 7% Chance to Trigger Heal on Hit
- 7 Defense
- 1.5 Weight
- Red Widow Leggings (Leg Armor)
- 20% Chance to Avoid Melee Damage
- 23 Defense
- 12 Weight
Totalling 83 Defense for just 39.9 Weight, it significantly bulks up protection at the cost of lightning speed. The exotic passive buffs also prove quite potent…if you can stomach wearing occultist‘s grisly former vestments!
Having seized this chokepoint‘s treasures, the Trial of Insight reaches its crescendo. Backtrack through the spiked hall, turn right in the catacombs, then ascend stairs back to The Lament‘s antechamber. Seek out the grand rune-marked portal just past the Symbol Gate you unlocked. Beyond lies the true final phase…
Analysis: Acquiring the Red Widow set really tests your skill at evasion and observing patterns, while providing superb ranged defenses as a reward. The lore behind it feels quite dark yet compelling as well! Now to escape this arcane prison…
Untangling the Floating Stones Riddle
The engraved portal leads into the Floating Stones chamber, housing The Lament‘s climatic puzzle challenge. Three squared platforms hover weightlessly around the room, each rotating and etched with glowing symbols. Suspended by sorcery, can they show the path deeper into the labyrinth?
- Shoot the open spaces below and between the floating cubes, testing for invisible surfaces
- Spark impacts reveal sections of ascending glass walkways!
- Carefully drop down onto the revealed path from the entrance stone to the central cube
- Look around the central block until you spot more spark impacts, exposing the next part of the path
- Follow it cautiously to reach the final rear stone – you‘ve charted a safe route!
Tread the uncovered catwalks to reach the finale chamber, where Kolket‘s Key unlocks the mystical gate. Just when freedom seems secured however, anechoic cries emerge from the sealed sarcophagus within…
Analysis: Using clever tells like impacts revealing hidden platforms shows masterful environmental puzzle design. Charting safe passage across perilous magical floating blocks felt immensely satisfying as well! But dark secrets still haunt this tomb…
Confronting the Key Keeper
Throwing open the grand gates, you‘re greeted by an unexpected sight – a dripping ectoplasmic form bursting from the central coffin! This Greater Wraith serves as The Lament‘s occult guardian, possessing the last relic needed for escape.
Known as the Key Keeper, this vengeful spirit phase shifts around the room, blastingspherical projectiles and scything talons. Calcified chains still wrap its amorphous frame, relics of past imprisonment. But new weapons now arm it:
- Rift Cutter (Main-Hand) – Slashes in wide arcs for heavy damage
- Void Core (Off-Hand) – Fires slow homing skullprojectiles from range
This flexible moveset keeps you on guard. Dodge the Void Core‘s tracking shots while avoiding the Rift Cutter‘s cleaves up close. Patiently counterattack between combos, then exploit the recovery time from its strongest blows to unload damage.
Felling the wraith leaves behind critical treasures…
Looting the Key Keeper
Vanquishing the Key Keeper splits its husk into three Relics perfect for exploiting:
- Ring of Diversion (Accessory) – 20% Chance to Duplicate Collected Scrap
- Lodestone Crown (Head Armor)
- +5 Defense
- +30% Resistance to Blight Damage
- +3 Weight
- 2 Hardened Iron Shards (Crafting Material)
The Lodestone Crown particularly intrigues, bearing runes uttered by the Sorcerer-King Nizal himself. This potent channeling focus boosted magical talents ages past, making a fine final reward!
Having pacified the crypt‘s ultimate guardian, two routes now permit escape from The Lament:
- The unlocked Elemental Gate you entered through
- Or mysterious stairs behind illusion walls to the right
Descend these hidden passage stairs, bash another false wall at the bottom, then ascend towards sunlight. Freedom awaits up these crumbling steps!
Analysis: An epic climatic battle with an arcane demilich sorcerer serves as the ultimate reward for fully exploring this dungeon! And the charms and armaments it defends equally impress – I‘ll be deciphering their runic mysteries for ages.
Conclusion
The Lament certainly exemplifies Remnant 2‘s greatest dungeon elements – lethal obstacles to test reflexes, engaging symbolic riddles evaluating intellect, and top-tier armaments earned through effort. I relished matching wits against its intricate arcane systems and emerging triumphant!
Future spelunkers, heed this guide well – it may save your life in those shadowed depths. Not all who enter the stone maze return…but mastery over The Lament means you just might. Trust in your faculties and prepare for mysteries!
Now then, what other enigmatic realms await cracking open? Onward to adventure!