The mystical shrines of Legend of Zelda: Tears of the Kingdom offer brain-teasing puzzles interwoven with the game‘s deep lore. Unlocking their secrets grants you greater strength and tools to defeat Calamity Ganon. Among the most creative shrine quests is the wind-based trial within Ishodag Shrine.
Clever manipulation of fans and gusts of wind allows you to traverse the shrine’s obstacles. The brilliant physics-driven level design hearkens back to some of the most inventive puzzles the Zelda series has to offer.
As a passionate gamer with 100+ hours within Breath of the Wild’s world, I’m delighted to fully explain every step to overcoming Ishodag’s challenges. Follow this guide to earn your well-deserved Spirit Orb reward!
Lore Behind the Ishodag Shrine
The Ishodag Shrine‘s ancient Sheikah location has eroded after 10,000 years, now nestled amidst the grassy hills southwest of Hyrule Castle according to the official Zelda wiki.

This shrine honors the Sheikah tribe’s close connection to the winds and sky. Their symbols decorate the fans used in Ishodag’s tests, blessed with power to generate gusts allowing the hero to traverse gaps and climb walls.
The Sheikah’s history as stealthy skyward agents dates back millennia according to legends. To access this shrine, one must demonstrate cleverness mastery over the winds.
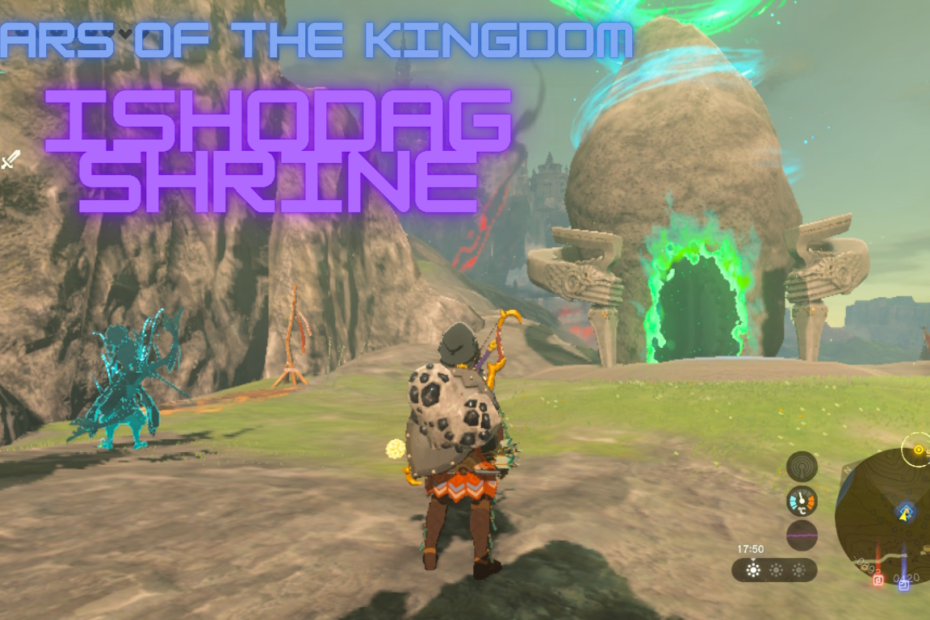
Exact Location of the Shrine
You’ll find the Ishodag Shrine located at these specific coordinates southwest of Hyrule Castle, northwest of the Outskirt Stable ruin:
X coordinate: 506
Y coordinate: -1759
Use your Sheikah Sensor or scope out the nearby Carok Bridge and Quarry Ruins to pinpoint the shrine’s entrance.
As you traverse the rolling green hills beware of decayed Guardians which still pose a deadly threat even while damaged. Stock up on shield parries and ancient arrows to defeat them without breaking a sweat.
Use the tall arches of the nearby Carok Bridge as a visual landmark when searching for the shrine nestled atop a hill.
Step 1: Descending Into the Shrine
As you approach the ancient shrine’s rock pedestal, the distinctive Sheikah eye icon will glow orange, beckoning entry.
Press down to auto-deploy the luminous crystalline ramp, allowing safe passage underground.
I recommend eating food buffs which boost stamina or defense before entering. Chilly elixirs and hearty meals I’ve cooked at campfires serve me well.
Descend the stairs as dim torch sconces flicker to life, depicting the distinct fan emblem. At the base lies the first step of our puzzle…

Overview of the Multi-Stage Puzzle
A towering wall blocks your path forward, too slippery to climb or latch arrow hooks onto. Lying at your feet sits a detached handheld fan blessed with the power to create gusts of wind.
Attaching this fan cleverly is the key to lifting yourself skyward to escape. This kicks off a three-stage physics-based trial:
Stage 1) Use fan updraft to float high enough and glide over wall
Stage 2) Build plank boat propelled by fan to cross gap
Stage 3) Attach fans to raise platform granting access forward
Compared to advanced shrines like Mythra and Voo Lota, Ishodag serves as an introductory wind puzzle teaching you gust mechanics that unlock more complex trials.
Let’s break down conquering each step.
Stage 1: Gliding Up the Wall from Fan Gust

Magnesis allows manipulation of metal objects remotely. Use this Sheikah rune to lift and place the fan vertically, angled slighting forward.
I prefer propping the fan near the wall’s edge to grant additional lift height. The fan’s stand folds outward providing solid ground clearance.
With the fan aimed skyward, smack it swiftly with a sword or axe to ignite gusts of wind. The fan’s spins will accelerate into a blistering pace.
Approach the whirring fan and stand directly over it, feeling its force surge beneath you. Pause briefly then jump and tap X to deploy your paraglider the instant the draft launches you upward.
Timing both jump and glider correctly allows riding this wind tunnel almost to the cliff’s peak – high enough to then steer sideways onto the ledge above.
The fan’s lift expires just as you crest the wall’s height, cancelling your glider. Dash forward as you drop to stick this tricky landing! Conflicting gusts can blow you backward off the platform if aimed incorrectly so brace yourself.
Through clever manipulation of fan physics, we’ve conquered stage one! Next comes floating across a frigid lake using some unstable engineering…
Stage 2: Fan-Propelled Plank Raft Across the Lake
Many shrines in Breath of the Wild involve crossing water barriers – though seldom on a free-floating raft of your own design! Combining this fan with the plank nearby forms a makeshift boat perfect for some hydro-sailing.
Once again use Magnesis to carefully angle the fan backwards onto the plank’s center. I prefer tilting slightly upwards to better catch momentum from the gust.
The plank will try sliding so drop some round bombs nearby to brace it in place until you can fasten the fan. Wooden crates also stack effectively to prevent drifting before embarked.
After triple-checking your vessel’s fan alignment, hoist it gently into the water with Magnesis raised. Set your makeshift raft afloat then climb onboard and re-ignite the fan’s whirlwind.
The instant forward gust will lurch you gliding forward, likely with enough speed to crash directly into the far shore! Carefully steer left or right to avoid a face-plant landing.
I advise bracing atop the plank for maximum stability in case you hit choppy waters – with so much open air the vessel is tricky not to capsize. Enjoy your wind-powered joyride toward the next trials ahead!
Stage 3: Gust-Elevated Platform to Ascend Wall
The final stage stands before you larger than life – an imposing cliff face even two stacked fans cannot lift you high enough alone to scale.
Luckily the Sheikah architects left one last tool to utilize – a floating platform able to shift vertically like a freight elevator. This mobile base finally elevates us to the coveted exit!

The twin detached fans are specially engineered to generate enough combined force when anchored, lifting anything above without blowing it sideways.
Carefully attach each fan to the platform’s underside supports using Magnesis, triple checking they blow straight down to thrust upward.
I prefer fastening the fans outward-facing to allow jumping directly between both whirlwinds – catching you instantly to the peak of their gusts.
Step gingerly onto the floating platform’s center then ignite both fans. The sudden thrust will send you barreling straight skyward so brace yourself and time a jump + glide forward through the exit archway.
Congrats! All 3 physics-based wind challenges stand conquered through liberal fan usage and creative gadgetry. Link gains valuable mastery over Sheikah airwave tech for future trials.
Now let’s clean up an optional floating treasure before departing this breezy shrine…
Bonus: Retrieving the Stranded Floating Treasure
Before leaving the Ishodag shrine, you may spot an unclaimed treasure chest stranded atop a sky-high alcove seemingly beyond reach. However several possible methods exist to chart a path over:
Option 1: Glide from previous wall using 2x stacked fans‘ upward gust
Option 2: Build sideways-blowing raft allowing enough lift to grab ledges
Option 3: Redirect fan beneath chest‘s platform granting glide access
I prefer method #3 for most consistent chest access:
Reconfigure your twin stacked fans from the final platform by detaching one and laying it directly underneath the stranded chest instead. Mind the precarious balance!
With Magnesis, adjust the fan facing side-airflow toward you rather than straight upward. This will propel the plank slowly sideways once activated, allowing you to float straight to the prize.
Glide down toward the gusting fan and ride its steady breeze carrying you parallel as the platform shifts. Hop off once close enough to grab the chest.
Within floats a rare amber gemstone – useful for crafting armor upgrades once appraised by Grante the merchant. Now if only we could keep this fan contraption moving to ride out of here in style!
What is the Reward for Solving Ishodag Shrine?
The Ishodag Shrine serves as a rewarding introductory master class in Wind Waker-esque physics. Few games besides Zelda so creatively integrate environmental gadgets into satisfying spatial puzzles.
Once you touch back down to ground level, a treasure chest manifests granting a Spirit Orb in recognition of conquering this windy trial.

Spirit Orbs offer useful boosts to either Heart Containers or Stamina Vessels when traded. I prefer cashing them for stamina to equip stronger bows and climb higher peaks.
Either vitality upgrade helps tackle the later shrines and Divine Beasts ahead. My next stop to spend this Spirit Orb is praying to the Goddess Statue up in Hateno Village.
Final Tips From a Passionate Zelda Player
The Ishodag Shrine prepares aspiring heroes for even more devious Sheikah contraptions ahead using wind and chemistry. I’ve gleaned these advanced tactics across 100+ hours existing within Hyrule:
Fan Uses: Gust platforms reach seemingly impossible heights when stacked in triangular formations. Fans attached to minecarts or rafts enable wind sail vehicles to explore harder-to-reach areas.
Airflow Stasis: Freeze wind gusts in time briefly using Stasis Rune just as lifted by fans. The sudden anti-gravity will fling you sky-high once normal physics resume!
Windbomb Jumps: If you drop round bombs then immediately use a Korok Leaf, the ensuing updraft explosion can launch you massive distances! This takes practice but skips huge portions of the map.
I hope my guide serves you well taming the Ishodag Shrine and its ingenious Breath of the Wild physics. Just don’t get blown away mastering the many wind techniques I‘ve shared! Tackle this introductory trial with gusto and you‘ll ride the winds toward victory when battling Ganon himself soon enough.