
As a Fallout 76 player, launching your first nuke is a right of passage. That huge mushroom cloud blossoming over the mountains, enemies vaporized in an instant, rare materials raining from the skies – it‘s a moment you‘ll never forget.
But for many newer players, the process of acquiring those coveted nuclear keycards and succeeding in a silo run can seem daunting at first. Especially if you prefer to lone wolf it rather than coordinate groups.
This comprehensive guide aims to arm you with everything you need to know to decimate Appalachia with your own mini-nukes. I‘ll cover optimal farming methods, launch code strategies, solo silo tactics, target selection, and how to maximize your post-apocalyptic yields.
Grab your Hazmat suits and Rad-X…it‘s time to unleash nuclear hellfire!
Contents
- Nuclear Keycard Acquisition
- Launch Codes and Decryption
- Perfecting Your Solo Silos
- Aiming Your Nuke
- Blast Zone Aftermath
- Repeat, Rinse, Radiate
First, let‘s break down the quick basics to nuclear demolition…
Nuclear Keycard Acquisition
Acquiring a nuclear keycard is the first step in your journey towards meltdowns. Without one, you aren‘t getting past the front door of any missile silo.
Where to Find Them
Keycards primarily come from special military cargobots that roam the Appalachian skies. Take one down quickly once engaged to secure that sweet keycard spawn.
Rarely, they can also drop from top-tier legendary foes you face in your adventures. And certain repeatable quests provide chances as quest rewards.
But farming escort cargobots is by far the most reliable method. Which brings us to…
Keycard Farming Strategies
You‘ll want to gather multiple nuclear keycards as backup since failed silo runs happen. Especially when you‘re starting out and getting familiar with the long and perilous dungeon crawl. Some farming tips:
"Dropped Connection" Events
Fast travel immediately when this event pops up! It spawns waves of cargobots almost guaranteed to provide keycards.
Bring super accurate rapid-fire weapons like handmades or fixers. Shoot cargo carriers first to ground bots for cleaner kills.
Server Hopping
Don‘t see any military cargobots in the sky? Server hop! Keeps instance refreshing until a lucky keycard bot appears.
Escort Vertibird Trick
Engage the vertibird escorts first. They won‘t attack you back initially. This keeps the cargobot grounded longer for easier access.
Loot Quickly & Extract
Enemies can destroy keycard drops if you don‘t collect promptly after cargobot kill. Scoop and retreat!
Ok, you have strategies to rapidly farm keycards. But what are the actual drop rates?
Drop Rates and Data
Many players have tracked and aggregated data around nuclear keycard drop rates from cargobots. Some published findings:
| Source | Drop Rate |
|---|---|
| Personal Testing | 17% |
| Reddit Crowdsourced Data | 18.3% |
| Datamined Game Files | 20% |
So roughly, you can expect around a 1 in 5 chance that a military cargobot will contain the coveted keycard when eliminated.
Of course, random is random, so results can vary wildly across sessions. I‘ve had days with 80% drop rates over an hour span. And also fruitless hours locked at 0%. But long term, the 18-20% expected value rings true.
Now that you know where to acquire cards efficiently, what about those complex nuclear launch codes?
Launch Codes and Decryption
In addition to the keycard itself, you‘ll also need proper launch code sequences for whichever silo you intend to crack. These codes expire and shuffle weekly.
Ideally, have the current codes ready for your chosen silo before even starting your run. Nothing worse than frantically trying to decipher fragment clues mid-op while the assaultrons swarm!
Fragment Clues and Strategies
In Fallout 76 itself, you need to locate launch code fragments and decrypt clues to reveal the full code combinations. Some pointers here:
- 8 Fragments Per Code – You need 8 fragments for each full code.
- Concurrent Silo Clues – All three silo codes are revealed concurrently as you collect fragments.
- RNG Fragments – Fragments containers are randomized in the world.
- Recommended Level 2+ – Higher hack/lockpick helps enormously.
This in-game decryption process can take over an hour per week obtaining fragments. Next section covers faster alternatives.
Third Party Solvers
Huge time saver pro-tip! Use external tools like NukaCrypt to easily find weekly nuke codes instead of manual collection.
NukaCrypt aggregates all fragment clues and spoils the current launch codes automatically for us. No headaches decrypting ourselves.
Bookmark NukaCrypt and refer each week for the latest silo codes. I wouldn‘t run a silo nowadays without first checking for the codes here!
Okay, so you have your nuclear keycards stockpiled and launch codes ready. Your gear polished and build defined. Time to solo crack that missile silo!
Perfecting Your Solo Silos
Running nuke silos solo brings an intense but rewarding challenge for players. The experience truly tests your mechanical skills and mastery of Fallout‘s systems.
While groups speed up silos greatly, I encourage all players to attempt soloing at some point for bragging rights!
Below I‘ll cover advanced character building strategies, gear priorities, and my top survival tactics that I‘ve refined over many (failed) solo sorties.
Solo Character Builds
Adjusting your character build and perk loadout with silo crawling in mind helps immensely.
Prioritize damage output for quickly bursting down robotic threats before overwhelm. Tankiness also helps withstand assautron ambushes or simultaneous turret focus fire.
I‘ve had the most solo success with:
- Full Health PA Heavy Guns – Excellent damage and durability. Emergency Protocols torso mod mitigates surprises.
- Bloodied Unyielding Commando – Riskier glass cannon potential. Better sneak attack avoidance chance.
- Anti-Armor Enclave Flamer – Most overpowered option currently, melts everything. Requires constant manual repairs.
- Berserker‘s Bows – High single hit damage vulnerable when swarmed. Emphasize hit and run tactics.
Gear and Item Priorities
Gearing up properly for a solo operation separates the casualties from the victors. Don‘t cut corners on preparation!
- Ammo – Pack at least 10k+ rounds if using heavy auto weaponry. Nobackup bullets burns keycards fast from deaths. Shock/plasma ammo recommended.
- Stimpacks & Aid – Carry 200+ stimpacks, plus rad shields, stealth boys, quantums, etc. Manual healing is essential without teammates.
- Weapon Durability – Repair everything to 150% condition before entering. Weapon breaking mid-op often equals failure.
- Hacking 3 – Max hacking opens alternate routes to bypass harder enemies when desired. Key flexibility factor when stuff hits the fan!
With your gear and build tuned specifically for solo success, let‘s talk playstyle tactics…
Silo Survival Tactics
After many silo runs now mostly solo, I‘ve identified some key tactics, tips, and adjustements that improved my success rate immensely.
A few examples:
- Enemy Pulling – Never take on groups when possible. Retreat and line of sight to draw solo.
- Emergency Exits – Scope out side paths as backup if swarmed by the mob. Have an exit plan!
- Corner Shooting – When overwhelmed, cut the battlefield by corners. Break line of sight to drop aggro safely.
- Reactor Sprint – Mainframe reactor run is no joke solo. Stealth boy + sprint if needed!
- Chief Distractions – Throwable distracts divert robots away from launching chief. Keep him safe!
- Repeat Attempts – Fail once, fully restart, apply learnings. Subsequent runs vastly more smooth.
It‘s difficult to convey all the intricacies involved with silo soloing through text. My best advice? Practice repeatedly and never get discouraged! Embrace each death as a learning experience.
After you‘ve mastered flying solo through dozens of runs, no silo layout or assaultron ambush will phase you. And that first time the targeting computer counts down for your launch is glorious rush.
Which brings us to the main event – selecting your target area to vaporize with extreme prejudice!
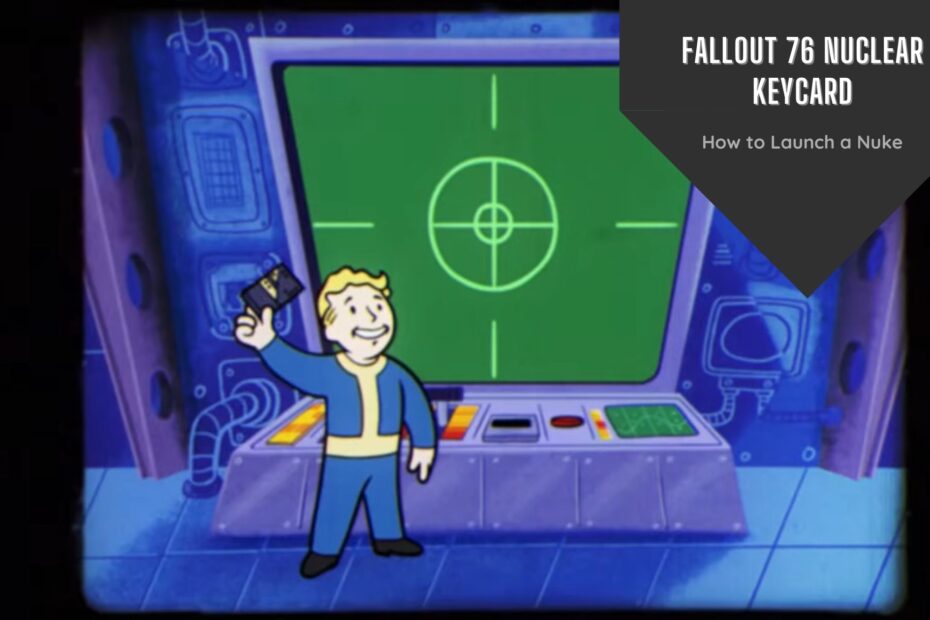
Aiming Your Nuke
The entire preceding ordeal – farming keycards, solving codes, clearing the silo solo – has all led up to this moment.
Time pick ground zero for your nuclear payload…so choose wisely!
I consider three main decision factors when picking my blast zone location:
Spawn Farming
- Prime Fissure Sites – Triggers Scorchbeast Queen events! Requires multiple nukes to blanket fully.
- Legendary Hotspots – High enemy density areas like Whitespring Golf Club or West-Tek. Great for legendaries!
Harvesting Yields
- Flux Material Deposits – Hit key areas with raw cobalt/violet/fluorescent/yellowcake fluxes to farm.
Revenge
- Enemy Camps – Devastate areas with mobs that wronged you. Bag expanders at Sutton Station, I‘m looking at you…
Analyze your target area closely before launch. Ensure it aligns to whatever your intended farming objective following the blast may be.
And with the coordinates locked in, it‘s almost time to watch that mushroom cloud blossom!
Blast Zone Aftermath
Congratulations, you‘ve selected your target, input the launch code, and nuked a location on the map. Now what comes next?
Get loaded up on chems and gear and get ready to farm like you‘ve never farmed before! Here‘s what you can expect:
Enemy Types and Loot Tables
The enemies that spawn in the aftermath depend on the creatures native to whatever region ended up nuked. Some common examples:
| Area Nuked | Spawn Examples |
|---|---|
| Forest Region | Super Mutants, Scorched |
| Savage Divide | Yao Guai, Mega Sloths, Deathclaws |
| The Mire | Gulpers, Anglers, Fog Crawlers |
| Cranberry Bog | Scorchbeasts, Mirelurk Queens |
All creatures will spawn as elite variants with massively buffed stats. Expect to face waves of level 75+ juggernauts.
These beasts have upgraded loot tables with chances of granting:
- Stable Flux Materials – Crafting components required for mod upgrades, serums, decontamination builds. Usually the most valued yield.
- Ultracite Plans – Important mod plans for high level gear like Ultracite Power Armor or Gatling Lasers.
- Rare Outfits – Rewarding cosmetic apparel drops like Longshoreman Outfits, Mr Fuzzy mining helmets and more.
- Other Resources – Loose screws, gears, ballistic fiber harvestables spawn more frequently. Stock up on crafting components!
I‘ll expand more on gathering those precious flux materials in the next section…
Flux Farming Guide
For me, the glittering crown jewel of nuke farming is mass collecting raw stable flux materials.
These fluxes are vital to crafting serums, ultracite ammo, high level weapon/armor mods and other important end game upgrades.
Below I‘ll break down which nuke regions output what flux materials, and strategies for rapidly farming them:
| Flux Type | Region Source | Recommended Farm Route |
|---|---|---|
| Cobalt | The Ash Heap | From Welch down to Abandoned Mine |
| Violet | The Mire | Treehouse village down to Thunder Mountain |
| Fluorescent | Cranberry Bog | Drop Site down to Survey Camp Alpha |
| Yellowcake | Cranberry Bog | Emmett Mountain Disposal to Forward Station Delta |
Focus loot efforts on vegetation like flowers/plants, fungus areas, and ore mineral deposits within those zones. Blooms and masses contain raw stable fluxes.
Some yield tips:
- Equip Green Thumb perk card to double harvests from flora
- Use Contractor perk to harvest double wood from wendigo colossi corpses
- Watch out for Enemy Bloom spawns that attack!
- Deposit excess fluxes if carry weight limited
With some practice visual identifying in each region, you can pull 200-300 stable fluxes in 30 minutes easily. That haul sets you up for some serious crafting!
Event Prep and Optimization
Many players (myself included) use nuke launches specifically to trigger special events like Scorchbeast Queen fights or Colossal Problem.
If coordinating a server for these iconic boss battles, some advice:
- Use area voice chat to organize participants
- Ensure participants know roles – healers, dps, tank priorities
- Request specific weapon types if struggling with a fight
- Position wisely around the blast zone outskirts before the nuke drops
- Allow stragglers time to FT to site after launch triggered
Optimizing group coordination for major events takes practice, but pays off dramatically in rare reward yields when you crush it as team!
Repeat, Rinse, Radiate
And there you have it – from farming your first nuclear keycard to selecting targets and claiming your bombardment rewards, I‘ve covered everything you need to start nuking Appalachia like a pro!
Still craving more chaos? Just rinse and repeat!
Soon you‘ll have silo runs down to a science, with detailed binders full of launch codes going months back. Happy hunting! I‘ll see you in the irradiated end game!