As a passionate Armored Core fan, I was thrilled when Armored Core 6: Fires of Rubicon was announced last year. The slick trailers showed off gorgeous next-gen graphics and teased epic mech battles. However, when I booted up the game for the first time, I quickly realized that AC6 would pose a formidable challenge even to seasoned veterans of the long-running mech combat series.
The wake-up call came in Chapter 1‘s eighth mission, Operation Wallclimber. I was tasked with infiltrating and securing a vital urban facility. Little did I know, a heavy juggernaut-class enemy mech guarded the objective. Dubbed "Juggernaut," this hulking mech absolutely wrecked my lightweight recon AC in seconds during my first attempt. Clearly, I needed to rethink my strategy and build.
After countless retries and tweaks between missions to optimize my loadout, I managed to take down Juggernaut for the first time. The key was learning its attack patterns, identifying weaknesses, and customizing my AC specifically to exploit those openings.
In this guide, I‘ll share everything I learned about defeating the Juggernaut boss in AC6, from attack breakdowns to ideal builds. Consider it your one-stop shop to taking down this formidable foe.
Juggernaut Overview
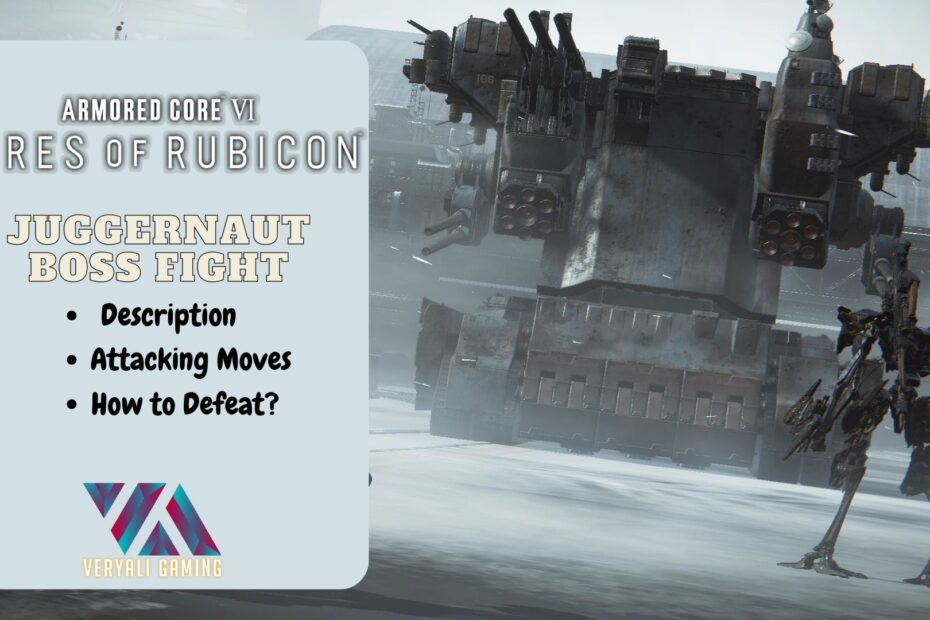
The Juggernaut presents a unique challenge compared to other early game bosses. Visually, it resembles a heavily armored transport truck outfitted with an array of devastating weapons. This includes missile pods, Gatling guns, and even land mines.
Making matters worse, its front is completely covered in thick armor plating. Standard weapons barely scratch the surface. However, the rear section near its booster unit remains exposed. This lone weak point is your ticket to victory.
Of course, the Juggernaut doesn‘t make exploiting its weak point easy. It will constantly reposition itself to keep its shielded front pointed at you. It also unleashes dynamic, unpredictable attacks to throw you off balance. So let‘s break down exactly what you‘ll be up against.
Juggernaut Attacks
The Juggernaut has four primary attacks:
- Ram: Rushes directly at you for massive impact and knockback damage. Avoid at all costs.
- Missile Barrage: Fires salvos of 3 missiles at a time. Launches multiple barrages in quick succession.
- Gatling Burst: Rotary cannons spew bullets in prolonged 3-5 second bursts. Inflicts severe accumulated damage.
- Mine Drop: Enters a rotational spin while blanketing the area in proximity explosive mines. Only used below 50% health.
The Juggernaut mixes up these attacks randomly, keeping you on the defensive. It will also abruptly boost sideways or vertically to reposition its shielded front towards you. The key is never staying still for more than a few seconds. Keep mobile and watch for attack tells.
For example, incoming missile salvos are preceded by an alarm blare when locked onto you. Use this audio cue to quickly boost out of the target zone. Similarly, the distinct sound of the Gatling guns spinning up signals an impending hail of bullets. Strafe and boost to avoid its sweeping fire.
Support Fire
Fortunately, you aren‘t alone in this boss fight. An allied NPC named Rusty provides aid with his long-range artillery AC. He draws some of the Juggernaut‘s aggro, creating windows to strike its rear booster weak point.
Use the Juggernaut‘s attacks on Rusty to reposition behind it. But don‘t get greedy! Rusty excuses himself once the Juggernaut hits 50% health. You‘ll need to finish the fight solo.
Customized Builds for Victory
Now for the most critical part – optimizing your AC‘s build to match the Juggernaut‘s capabilities. You‘ll need to emphasize speed, evasion, and burst damage to reliably expose and punish its rear weak spot.
I recommend the following all-purpose boss hunting build:
Parts
- Core: CC-2000 Orbiter – Solid balance of defense and equip capacity.
- Arms: AC-2000 Tool Arm – Low weight aids mobility.
- Legs: Raven 2/VIX – Heightened boost recharge to keep you moving.
- Booster: BST-G2/P04FCS – Allows quick boost hopping critical for getting behind target.
- FCS: FC-006 Abbott – Swift target acquisition to capitalize on openings.
- Generator: VL-5700 Autonomy Drive – Powers energy weapons without being too heavy.
Weapons
- Main Weapon: WG-XM219 Linear Rifle – High burst projectile damage against exposed rear armor.
- Sub Weapon: Moonlight Laser Blade – Solid emergency close range damage if openings are limited.
This setup prioritizes speed and landing decisive blows when opportunities emerge. Boost hopping is essential to quickly reposition behind the Juggernaut between attacks. The rifle and laser blade offer both ranged and melee damage options to capitalize on whatever exposed area presents itself.
You‘ll need to master toggling between both weapons mid-fight to adapt. For example, rifle potshots work well during the missile and Gatling attacks when the Juggernaut moves less. But the laser blade can punish a ram attempt by sneakily sliding beside it.
Battle Strategy
With the right custom AC in hand, now it‘s time to focus on strategy.
Stage 1: Use Rusty‘s Support Fire
As mentioned, the ally Rusty AC will occupy the Juggernaut‘s attention initially. Use this phase to learn its attacks and patterns. Bait out missile barrages and Gatling bursts to see how they track and sweep.
Each time the Juggernaut turns to attack Rusty, quickly boost hop over it to rifle its exposed rear. Burst down its health until it focuses back on you. Rinse and repeat while avoiding its retaliation attacks. Don‘t get stuck on one side for too long!
Stage 2: Decisive Solo Strikes
Eventually, Rusty falls back, leaving you alone against the damaged but still deadly Juggernaut. It now incorporates its devastating spinning mine drop. This limits your flanking options to hit the rear weak spot.
Instead, focus on cornering the Juggernaut against the outer walls. Use fences or barriers to block its movement as well. The goal is trapping it to restrict its weapon angles. With luck, you can lock it into facing a wall, allowing you to strike the vulnerable rear armor uncontested.
Stay mobile and keep your distance until an opportunity emerges. The laser blade is great for quick jabs between longer rifle volleys. Be prepared to dodge rams if it tries fleeing the cornered position. Destroy it before it has a chance to turn and shield itself.
Closing Thoughts on an Epic Encounter
The first time I took down Armored Core 6‘s Juggernaut boss remains one of my proudest gaming memories. The dynamic fight truly tests the creative mech customization and combat tactics veterans love about the Armored Core series.
While certainly difficult, I hope this detailed guide gives you the confidence and knowledge needed to take down this formidable foe. Learn its attack patterns, leverage your ally, and build a specialized AC purposely to exploit its weakness. Do so and you‘ll be on your way to conquering the rest of the game‘s challenges!
Let me know in the comments if this guide helped you defeat Juggernaut! And stay tuned for more Armored Core 6 content soon.