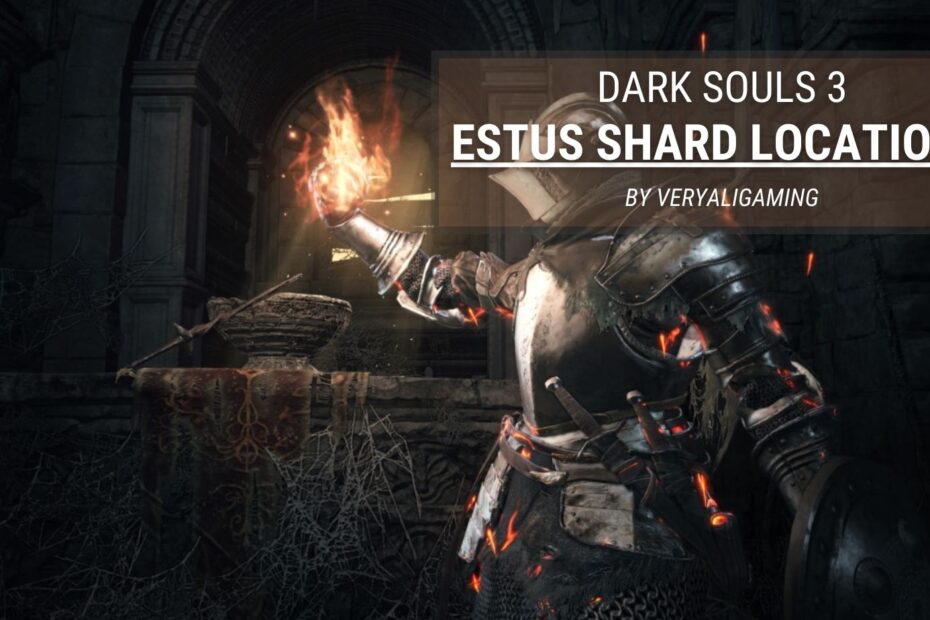

Estus Shards are key items in Dark Souls 3 that allow you to upgrade your Estus Flask charges. Finding all 11 shards will maximize your flask‘s potential. This comprehensive guide reveals all the shard locations in Dark Souls 3.
Why Estus Shards Matter
Your trusty Estus Flask serves as your renewable source of HP recovery in Dark Souls 3. However, its potential is limited at the start of the game.
Each Estus Shard you collect adds one charge to your Flask up to a maximum of 15. This gives you more healing capacity during boss attempts and challenging areas.
With 11 shards available in the game, collecting them all should be a priority. This guide presents an optimal route to obtain every shard without unnecessary backtracking.
Estus Shard Locations Walkthrough
Here are all 11 Estus Shard locations in Dark Souls 3:
1. Firelink Shrine
The first Estus Shard can be obtained very early at the Firelink Shrine.
- Go around to the tower behind the Firelink Shrine bonfire
- Use the roots and gravestones along the wall for a tricky jumping puzzle up to the roof
- Cross along the rafters at the roof‘s edge to find the corpse holding the Estus Shard
Enemies in this area: None
2. High Wall of Lothric
After defeating Vordt of the Boreal Valley, proceed through the tower leading to the High Wall of Lothric.
- Climb up the tall ladder within this tower
- Enter the room filled with multiple undead and dogs
- Grab the Estus Shard from a body lying on the central table
Enemies in this area: Various undead, attack dogs
3. Undead Settlement
From the Dilapidated Bridge bonfire, head to the Undead Settlement.
- Locate the large hanging tree in the village after the first chieftain enemy
- Check around the burning stake adjacent to this tree to find an Estus Shard
Enemies in this area: Various undead villagers, dogs
4. Road of Sacrifices
After defeating the Crystal Sage, search the ruins behind its arena.
- Enter the den with two dormant lycanthropes inside
- Walk to the end of the den to pick up the Estus Shard from a corpse
Enemies in this area: Lycanthropes
5. Farron Keep
Journey through the Farron Keep swamp and locate the fallen tower past the first flame beacon.
- Beware of two tree-like Darkwraith enemiesguarding the entrance
- Dash inside the half-flooded tower to claim the Estus Shard within
Enemies: Ghru, Darkwraiths, Basilisks
6. Smouldering Lake
After discovering the Smouldering Lake, head left from the Abandoned Tomb bonfire along the cliffside.
- Strike the fake wall to reveal a hidden cave
- Sprint past the two laser-shooting insect enemies guarding the shard
Enemies: Insects, Carthus Sandworm
7. Irithyll Dungeon
Descend into the dungeon until you reach the room with prison cells and multiple Jailers.
- Attack the chest in the back-left cell to expose a Mimic
- Defeat the Mimic which drops the Estus Shard
Enemies: Jailers, Mimic
8. Anor Londo
After entering Irithyll of the Boreal Valley from the Irithyll Dungeon, cross the long bridge leading to Anor Londo.
- Enter the cathedral building and head left
- Open the chest in the far corner to obtain this shard
Enemies: Silver Knights, Deacons
9. Lothric Castle
Go to the Consumed King‘s Garden from the Dancer of the Boreal Valley bonfire.
- Ride the lift halfway down then roll out into the revealed landing
- Run along this ledge to pick up the Estus Shard from a fallen knight
Enemies: Various Lothric knights, Pus of Man
10. Grand Archives
At the Grand Archives bonfire, ascend to the rooftop instead of crossing the bridge towards the Twin Princes boss arena.
- Sprint past or defeat the three golden angels guarding the rooftop
- Collect the final accessible Estus Shard around the small tower
Enemies: Winged Knights, Thralls, Scholars
11. Archdragon Peak
To obtain the final inaccessible shard, you must complete the following:
- Trade the Dragon Chaser‘s Ashes to the Shrine Handmaid
- Defeat Nameless King
- Interact with Andre the Blacksmith
This makes the Estus Flask +10, giving you 15 total charges.
Final Tips
With this guide, collecting all Estus Shards should be hassle-free during your first playthrough.
Prioritize Vigor to increase your health. This allows you to withstand more attacks when grabbing dangerous shards. You can re-spec stats with a Pale Tongue if needed.
Consider summoning help if you struggle with enemies guarding specific shards. Some shards like in Irithyll Dungeon have tricky ambushes.
Now go out there, Ashen One, and pry those precious shards from Lothric‘s cold, dead hands! The Age of Fire awaits the chosen undead who drinks from an Estus Flask brimming with potential.