As a life-long Zelda enthusiast with countless hours exploring Hyrule under my belt, few things thrill me more than tackling a new Shrine‘s mind-bending puzzles and battling its menacing mechanized guardians. The joy of emerging triumphant, newly-won Spirit Orb in hand, stands as its own sweet reward. Yet I occasionally stumble upon simpler shrines like the Mayaumekis whose real value lies less in material prizes and more in their ability to teach core gameplay skills.
Containing no Ancient Owl Statues for warping nor Monk Guardians to bestow bonus Stamina Vessels or Heart Containers, the Mayaumekis Shrine occupies the "tutorial sidequest" end of Breath of the Wild‘sbrain-teasing spectrum. The physics lessons and nimble aerial navigation required does however offer key preparation for taking on the nearby Wind Temple and mastering one of Tears of the Kingdom‘s more mobility-driven new features – trampoline rafts.
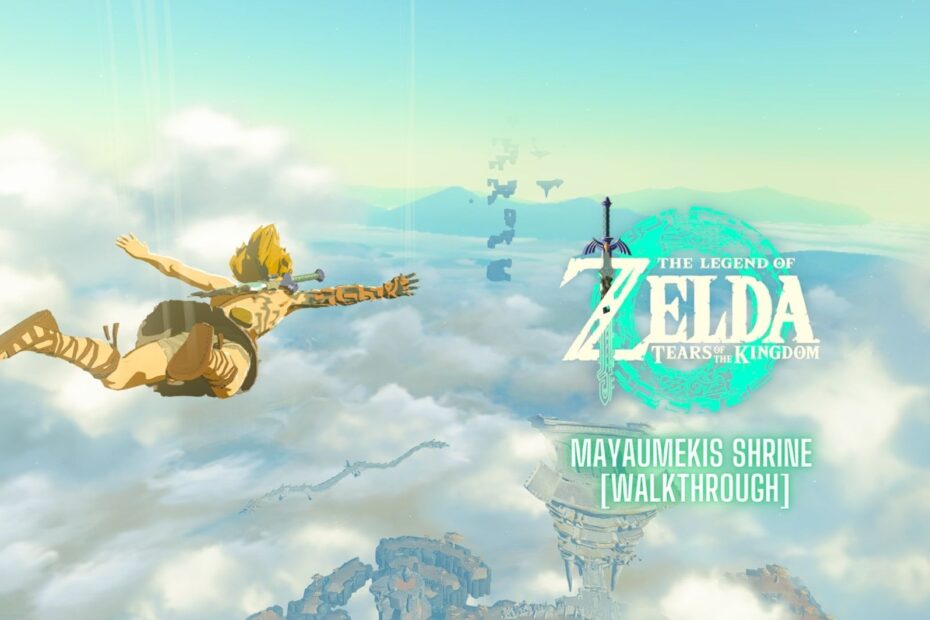
In this expanded guide, I‘ll impart hard-won techniques and pro-gamer tips for defeating every enemy, solving every puzzle, and earning every bonus treasure theFLOATING ISLAND CHAINS have to offer!
Orienting Yourself
Buried amidst the Rising Island Chains of Hyrule‘s eastern Herba Mountains region, locating and reaching this secluded shrine can pose early challenges for completionist players like myself aiming to clear every map marker before advancing storylines.
The Mayaumekis Shrine first surfaces after speaking with worried Rito chef Tulin in Rito Village regarding his missing ingredient shipments. Agreeing to investigate escalates "Missing Ingredients" into a multi-part side quest spanning various peaks and islands across the greater skyworld. Our shrine lies tucked away as an ancillary puzzle along this journey.
When speaking again to Tulin at Flapper Flats prior to raiding the Bokoblin Camp occupying Willrow Plateau, Mayaumekis‘s map marker will finally appear as pictured below:

With the orange guidance beacon now unlocked, maneuver your paraglider towards the indicated coordinates of X: -2947, Y: 3053, Z: 0897. Mind updrafts swirling around the mountain range‘s and prepare for a bit of tricky navigation!
Several other similarly skyward-set shrines exist across Hyrule which can help hone one‘s skill at midair movement. For trial gliding runs to build confidence, I suggest the Ze Kasho and Zuna Kai examples, or for experts seeking supreme aerial tests, Rohta Chigah!
Recommended Loadout
I always advise gearing up appropriately before tackleing any shrine – not just to safely best opponents and puzzles, but also to fully immerse oneself in beloved characters!
For the Mayaumekis‘ upward-angled trials, I suggest channeling Link‘s Rito heritage by donning the Climber‘s Bandanna, Climbing Gear, and Snowquill armor set:
| Outfit | Effect |
|---|---|
| Climber‘s Bandanna | Stamina recovery +1 |
| Climbing Gear | Climbing stamina recovery up |
| Snowquill Tunic | Cold resistance +2 |
| Snowquill Trousers | Cold resistance +1 |
| Snowquill Boots | Cold resistance +1 |
The stamina recovery bonuses help offset continuous wall scaling and aerial bullet time. Coldproof gear provides insurance when diving through the mountain mists, though isn‘t required for this particular shrine. And of course, the sweet feathered style perfectly fits the quest‘s Rito Village theme!
For weapons, avoid heavy two-handed varieties that restrict aerial movement in favor of fast-striking lighter fair like feathered spears, spiked clubs, and swords carved from keese wingbones. Perfect forpuncturing the Flux Construct! Ranged arms like Boko bows help activate distant switches, while wooden shields offer parrying protection agains melee blows.
With style set and weapons equipped, let your spirit soar alongside Medoh Divine Beast into the challenges awaiting!
Entry Area & Puzzle Door #1
Glide gracefully down through veils of mist to alight on the Mayaumekis Shrine‘s modest island doorway hovering among the peaks. But before even crossing the threshold, your first test presents itself – a metal grate barrier behind which glows a crystal switch clearly connected to whatever mechanism controls the portal itself.

Having braved dozens of electronically-sealed shrine gates however, the solution becomes quickly clear – strike yonder switch with a well-placed arrow to shift gears and breech deeper inside!
With a Boko bow drawn and arrow nocked, adjust slightly left to lead the target and…ping!…success! The metal slabs slide away, allowing access into the shrine proper.
Targeting through metal bars and fences proves one of archery‘s more niche applications. For broader bow practice across more diverse situations, I highly recommend the combat, huntsman, and mounted archery trials at various stables across Hyrule!
Combat Encounter: Flux Construct
Passing the lifted gate, a wide spiraling ramp and chamber soon widen before you – and with it, the telltale electric crackle heralding a combat guardian‘s activation!
Descend warily to spot your opposition – a dormant Flux Construct centurion whirring violently to life! These 3m-tall stone soldiers typically boast ~750 HP and pack nasty crushing attacks, though wider chamber space here lends combat advantage.
Quickly nock explosive bomb arrows to whittle its health safely from range initially. Just beware not exhausting your entire quiver at once! Once within melee distance, equip a feathered spear and adopt hit-and-run tactics targeting its torso – unleashing 5-6 consecutive jabs before evading sideways.

patiently for additional openings as needed while managing stamina and weapon durability carefully. Alternatively, reflecting its lumbering blows off a Pot Lid at opportune moments can deal effective damage over time via its own force.
I‘ve compiled a broader breakdown of Tears of the Kingdom enemy stats and combat tactics here if you require additional fighting references. With the bulky Construct toppled fully however, a curious form transport next catches the eye…
Peering over the ledge the Construct previously occupied reveals a series floating rafts with bouncy, trampoline-like bases gently riding the mountain updrafts. And these ballooning boats are in fact the key to tackling this shrine‘s second floor and upward!
The physics underlying these curious crafts takes some acclimation. Sprinting and leaping from one to the next allows slowly gaining loft to reach distant platforms. Special care must be taken timing jumps against following wind currents and handling the constant rebounding however.

Practice first across the linear series of anchored vessels. Then gathering momentum on the circular patrol boat mid-chamber opens access to the second floor‘s crystal door switch. Just stay light on your toe – literally – to avoid bouncing uncontrollably away or overshooting jumps!
I provide a standalone guide breaking down advanced Tears of the Kingdom traversal techniques here for those wanting to further hone such skills. Now then, onwards and upwards!
Puzzle Door #2 & Alternate Entrance Strategies
Having masterfully ascended skyward through deft trampoline ship-jumping, you arrive opposite a second obstruction – the shrine quest‘s final barrier.

Like before, the switch responsible for raising this gate sits irritatingly out of direct reach, suspended tauntingly overhead. And no stable footing exists this time for simply nocking your bow confidently.
Option A) Use the nearby vessel as improvised elevation to enact bullet time during an unstable jump shot. This proves highly advanced technique however, requiring peak stamina management, acute directional aim, and composure under literal pressure!
However, having bested Vah Medoh‘s twisting corridors and gnarled the Beast‘s very mechanical guts into submission personally before, I grasp a handy alternative for accessing the final chamber while conserving arrows…
Option B) Position Link carefully on the trampoline ship itself immediately before the barrier, taking care not to trigger its springing leap. Then cautiously scale one of its masts using the Climbing Gear equip bonus. Once atop, engage Revali‘s Gale for an added vertical launch towards the ceiling switch within swiping reach! Then simply glide downwards through the now-lifted bars.
Combining climbing, bullet time arrow shots and scaled launch abilities proves required across many shrines. But the Mayaumekis provides a pleasant primer for honing said skills individually in a relatively safe environment.
With the doors parted and path cleared comes claiming your ultimate quest reward however…
Bonus Chest & Completion Rewards
Before praying formally at the Monk Statue to earn a nominal Spirit Orb however, first gather goodies from the shrine‘s gift chest!
Peer across the second barrier doorway to spot a small open balcony in the distance with said treasured trunk awaiting. This outcropping goes easily overlooked without scanning ones surroundings thoroughly upon entering new chambers – a key lesson veterans like myself drive home frequently to newcomers.
Reboard the large circular trampoline vessel and ride it on its patrol route around the central bracing pillar. Count its cycles mentally while charging a sprinting start. Then erupt forwards hitting peak velocity, sailing smoothly onto the target foothold containing the crate and prizes within!
Lift its lid to uncover a useful bonus – 10 additional arrows for your dwindling backpack quiver! Tuck these away happily then glide back to insert the final missing shard. Step into the glowing crest and…
Congratulations! Shrine quest complete!
With the monk‘s soul now freed and your victory immortalized into the ancient shrine registry, all that remains is appreciating this mini-dungeon for what it offers – expanded skill at DIRECTIONAL leaping, midair balance, fighting against gravity itself and creative problem solving in 3D space unseen since Stone Tower Temple itself!
While no special items or gear upgrades manifest here, the almost gymnastic running vertical ship jumps and glides trains one ideally for harnessing Tears of Kingdom‘s new Wind Temple location – an entire dungeon based around mastering airflow currents and propulsion principles first teased here.
So let the cooling mountain breeze uplift your spirits as you paraglide victoriously onwards fellow adventurers! May you tackle your nextchallenges with the graceful aerial adaptations learned at the Mayaumekis. Onwards and upwards!!