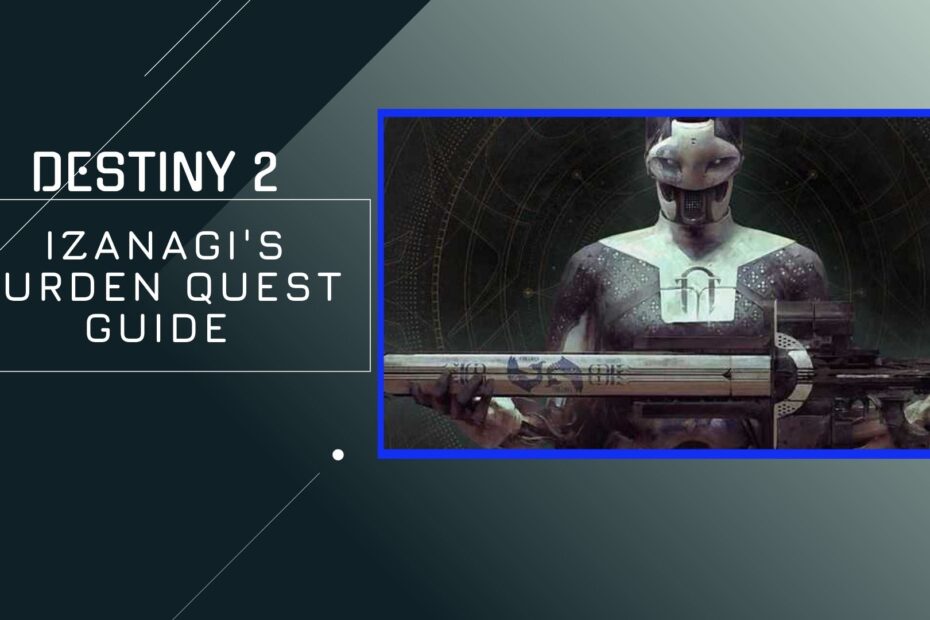
As someone who has sunk over 2000 hours into Destiny 2, few exotic quests spark my imagination like that of Izanagi‘s Burden. It conjures vivid memories of infiltrating the mysterious Black Armory, scouring the Leviathan underbelly, and overcoming trio of grueling ascendant challenges.
But the payoff is oh so sweet. Unleashing four Honed Edge sniper rounds in succession to utterly delete raid bosses just never gets old!
In this comprehensive guide, I‘ll walk you through everything you need to know to claim Izanagi‘s Burden for yourself. I‘ve had the pleasure of both soloing this quest and guiding others through it in fireteams. So let me impart all my hard-earned wisdom to see you victorious!
First, let‘s dive into why this S-tier exotic is worth fighting for…
X Marks the Spot: Origins of a Legendary Sniper
Few weapons in the Destiny pantheon inspire such awe and desire as Izanagi‘s Burden. It stands in a league all its own thanks to a signature perk honed by ancient Japanese sword smiths (more on that shortly).
But just what is this mighty sniper, and where does it come from?
Izanagi‘s Burden arrived alongside the Black Armory DLC expansion in Year 2. It‘s the namesake of the mysterious Izanami Forge and progenitor Ada-1.
Ada is no ordinary vendor or scavenger, but exo leader of the ancient Black Armory itself. This organization crafted unique weapons across generations, outfitting warriors and Guardians alike with remarkable power.
Their formidable designs were inspired by Japanese sword smiths who folded steel again and again to remove impurities. This perfecting process involved "Honing Edges"—thus the genesis of our coveted prize.
In her memory loops, Ada determined one particular weapon exceeded all others in potential and lethality. She would come to designate it Izanagi‘s Burden…a gun matching god-like aspirations with god-like damage capabilities.
Now, at long last, that lost weapon has resurfaced in the Destiny universe. Not as a relic of the past, but a hi-tech terror promising one-shot carnage!
Honed Devastation: What Makes Izanagi‘s Burden a Crucible?
One perk sets Izanagi‘s Burden miles apart from its competitors…Honed Edge. This is what rocketed it to S-tier status practically overnight.
By holding down reload you can store up to 4 rounds of special high-damage ammo. Each round stacked ramps up both your precision multiplier AND total damage dramatically.
I‘m talking a buff exceeding 100% on successful crits depending on stacks!
When you finally release reload with rounds stored, all that delicious juice unleashes on your next shot. This turns Izanagi‘s from a regular sniper into an absolute hydra.
You can erase majors and elite targets in 1 bang or cripple bosses by sheer bursting through multiple immunity phases. It‘s become a notorious DPS menace for good reason!
Izanagi‘s also handles like a beauty thanks to other augments like Fluted Barrel and Tactical Mag enhancing stability, reload and mag size.
In short, it represents the pinnacle of Black Armory‘s design genius…and your ticket to victory!
Now, let‘s discuss how to add this living legend to your Vanguard loadout:
Odyssey Of The Mysterious Box
Step 1: Unearthed Secrets
Your first goal is to excavate the hidden Mysterious Box tucked away in the EDZ near Volundr Forge.
Fight through the Fallen infesting these dilapidated ruins until you discover a nearby cave along the cliffs. This concealed vault houses the nondescript black container.
Interact with it to officially launch the quest chain.
[Image: discovering the Mysterious Box]Unfortunately the box refuses to open and divulge its secrets just yet. A series of keys encoded to the ancient Black Armory forges are required first.
This was likely a security measure implemented by Ada-1 herself long ago. And breaking through it will test our skill and grit!
Step 2: Forging Keys In Living Flame
To create each key, we must charge up the associated forge to its maximum thermal capacity…its living flame!
Here‘s how the four forges pair up:
- Volundr Forge = Volundr Forge Key
- Gofannon Forge = Gofannon Forge Key
- Izanami Forge = Izanami Forge Key
- Bergusia Forge = Obsidian Crystal
But simply igniting each forge isn‘t enough—we must turn up the heat through specific mechanisms to unleash its true potential.
Let‘s discuss how to hit max temper!
Activating Max Temper
As you rally to launch each forge ignition, heavily shielded drones begin phasing around the arena.
Your goal is to rapidly destroy these drones within 30 seconds of each other as a fireteam. Doing so will cause special braziers around the forge to ignite with an enraged blaze.
This indicates you‘ve successfully activated maximum temper!
I highly advise playing with friends or recruiting an LFG team here. Trying to solo both drones without getting demolished is…an exercise in pain.
The key is quickly coordinating to melt shields and overwhelm drones before they vanish. Equip storm caller weapons like Riskrunner, Trinity Ghoul or Thunderlord to zap shields in unison.
Position yourselves on opposite sides of the forge so no target escapes unscathed! Once you hear that satisfying ding of braziers igniting, max temper is achieved.
Claiming Your Keys
After completing the forge ignition itself, special loot chests will manifest near the boss teleporter. Open them up to claim your forged key as a quest step!
You must repeat this sequence at Volundr, Gofannon AND Izanami forges to collect their three keys.
Bergusia Forge works a bit differently…
Cracking Bergusia‘s Crystal Core
The Bergusia Forge key deviates slightly from the previous three.
Once initially beating Bergusia‘s boss at max temper, Ada-1 gifts you an ominous Black Armory Key Mold instead of the key itself.
[Image: Ada-1 giving you the key mold at the end]This kicks off the "Black Armory Key Mold" pursuit. You must now fill the mold with 24 molten Watcher Lens dropped from enemies called Watchers.
And these ill-tempered foes lurk in theAPIC underbelly of the great Leviathan!
Descend Into The Belly Of The Beast
Reach this isolated domain by completing the first major encounter in Leviathan raid. Rather than proceeding further, hang a sharp right after exiting the pleasure gardens.
Stumble through twisting tunnels until you reach a vast cylindrical room with tiered balconies wrapping around the perimeter. Surprise – this is the actual stomach and intestines of the planetoid!
Flickering green lamps accent floors opening into further depths. We must explore the entire digestive tract, battling Watchers that spawn in several locations shown below.
[Image: map of key underbelly rooms and tunnels]My fireteams often start by climbing straight up the inclined tunnel from the initial room. This feeds into the Engine Room where you can easily farm at least 3 Watchers simultaneously.
After filling up on lenses here, rotate down through other tiers while keeping an eye on your tracker. Once you bank 24 molten lenses, backtrack to Ada-1.
She converts the filled Black Armory Key Mold into Obsidian Crystal – the final powered Bergusia key!
The Final Keys
At long last, all four ancient keys have been restored to their full potential:
- Volundr Forge Key
- Gofannon Forge Key
- Izanami Forge Key
- Obsidian Crystal
Now journey back to Winding Cove in the EDZ. Return once more into the unassuming cave guarding a box of terrible potential…
Gaze upon the Mysterious Box and insert each completed forge key into the appropriate slot. An awesome glow envelopes the container while mechanisms slide and lock into place.
The last barricade is lifted! Swing open this vault of forgotten legends to uncover its final compartment and launch the next quest phase.
Refining The Final Component
peers into the newly unlocked section. Her optics go dim while scanning etchings along its interior frame never observed before.
Chiseled passages and encryptions tell of one final key – an Obsidian Crystal core requiring delicate refinement through proxy tests.
Ada gifts you an obsidian geode filled with uncut crystal in raw form. We must now balances its structure by passing three weapon frames through individual crucibles.
Specifically:
- The Shattered Throne (dungeon)
- The Pyramidion (strike)
- The Arms Dealer (strike)
I strongly advise running these activities with an LFG team, NOT solo! Trying to flawlessly complete The Shattered Throne alone borders on madness…
Thankfully you only need to finish from start to completion without failing as a fireteam. Checkpoints allow breathing room across individual phases.
With all three frames annealed to perfection, we give the Obsidian Core back to Ada-1 for inspection.
At long last satisfied with our efforts, she hands us the completed Izanagi‘s Burden!
Our quest to restore this fabled armament concludes…but its legend in Destiny 2 begins!
Unleash Maximum Honed Devastation!
Izanagi‘s Burden excels as one of Destiny‘s all-time champion boss DPS options thanks to its namesake perk. Let‘s examine exactly what 4x Honed Edge delivers:
[table showing damage numbers for each Honed Edge stack]As you can see, stacking up to 4 rounds for your next shot translates to over a 100% precision damage buff. And 30 – 50% more body shot pain.
This exponential damage increase melts majors and elites with ease. Primevals, raid bosses, champions – no target withstands your salvo for long!
I typically open engagement by stacking all 4 Honed Edge rounds (just hold reload). I‘ll find optimal positioning like a rift or elevated angle if possible.
Then watch health bars disintegrate as my stored carnage rips through their skull!
Of course Izanagi‘s also brings fantastic handling and reload speed to the table thanks to augments like Fluted Barrel and Tactical Mag. This enhances the weapon‘s already wicked DPS talents immensely.
In conclusion, I wish you godspeed in conquering this quest‘s challenges for yourself. May you unlock Izanagi‘s full Honed Edge powers on your own journey to ascendancy!
I‘m happy to answer any other questions in the comments! For even more badass Destiny 2 guides, find me on social media.