In the ever-evolving landscape of professional networking, the humble business card continues to hold its ground as a powerful tool for making lasting impressions. As we navigate the business world of 2025, the ability to create high-quality business cards at home has become more accessible and sophisticated than ever before. This comprehensive guide will walk you through the process of designing and producing professional-grade business cards from the comfort of your home office, allowing you to save money while maintaining a polished and personalized image.
The Enduring Value of Business Cards in a Digital Age
Despite the proliferation of digital communication tools, physical business cards remain relevant for several reasons:
- Tangible brand representation: A well-designed card provides a tactile connection to your brand.
- Memorable exchanges: The act of exchanging cards creates a more personal interaction.
- Offline accessibility: Cards work without relying on technology or internet connections.
- Cultural significance: In many countries, exchanging business cards is an important business ritual.
Why Make Your Own Business Cards?
Creating your own business cards offers numerous advantages:
- Cost-effectiveness: Significantly cheaper than professional printing services, especially for small batches.
- Customization: Complete control over design, materials, and finishes.
- Convenience: Print on-demand as needed, reducing waste and ensuring up-to-date information.
- Eco-friendly options: Choose sustainable materials and print only what you need.
- Rapid prototyping: Easily test different designs before committing to a large print run.
Essential Tools and Materials for DIY Business Cards
To embark on your business card creation journey, you'll need the following:
High-Quality Home Printer
In 2025, home printers have advanced significantly. Look for models with:
- High DPI (dots per inch) for crisp images and text (minimum 1200×1200 DPI)
- Ability to handle thick cardstock (up to 110 lb or 300 gsm)
- Dual-sided printing capability for professional-looking cards
- Eco-friendly ink options, such as high-capacity tanks or solid ink technology
Recommended models:
- Epson EcoTank Pro ET-5850
- HP OfficeJet Pro 9025e
- Canon PIXMA PRO-200
Premium Cardstock
The choice of paper can dramatically affect your card's look and feel:
- Weight: 80-110 lb (216-300 gsm) is standard for business cards
- Finish options:
- Matte: Professional and easy to write on
- Glossy: Eye-catching and vibrant colors
- Textured: Adds a premium feel (linen, laid, or felt finishes)
- Color: White is classic, but colored stock can make your card stand out
Popular cardstock brands:
- Neenah Bright White Card Stock
- Southworth 100% Cotton Business Card Stock
- Mohawk Superfine
Design Software
Modern design tools offer templates and intuitive interfaces:
- Adobe Creative Suite (Photoshop, Illustrator)
- Canva Pro
- Affinity Designer
- Figma
For those less design-savvy, AI-powered online tools have become increasingly sophisticated:
- Shopify's Business Card Maker
- Vistaprint's Design Studio
- MOO's Intelligent Design Interface
Additional Tools
- Paper cutter or precision scissors for clean edges
- Ruler and cutting mat for precise measurements
- Optional: Laminator for added durability or special finishes
Designing Your Business Card
Key Information to Include
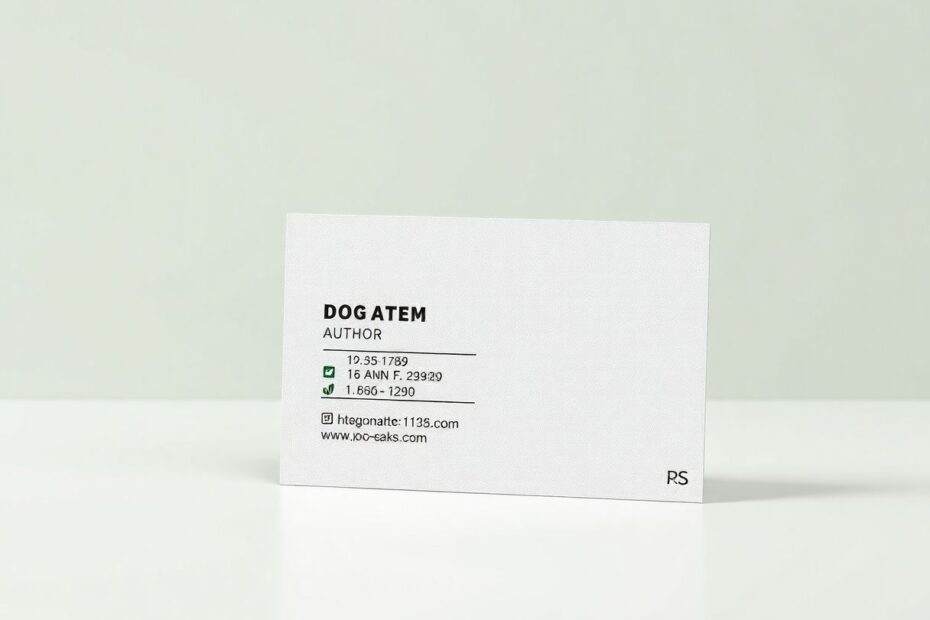
Every effective business card should contain:
- Your name and job title
- Company name and logo
- Contact information (phone, email, website)
- Social media handles (if relevant)
- QR code linking to your digital portfolio or website
Design Tips for 2025
- Minimalist approach: Clean, uncluttered designs are trending, focusing on essential information.
- Sustainable elements: Highlight eco-friendly practices with recycled paper or green-themed designs.
- Augmented Reality (AR) integration: Use AR-enabled QR codes for interactive experiences. When scanned, these can display 3D models, video introductions, or live portfolio updates.
- Holographic elements: For a high-tech feel, consider adding holographic foil accents. This can be achieved at home using special holographic lamination sheets.
- Color psychology: Use colors that reflect your brand and industry. For example, blue for trustworthiness in finance, green for eco-friendly businesses, or vibrant colors for creative industries.
- Typography: Choose legible fonts that reflect your brand personality. Sans-serif fonts like Helvetica or Arial are popular for their clean, modern look.
- Negative space: Don't overcrowd your card. Use white space effectively to draw attention to key elements.
Step-by-Step Design Process
- Choose a template or start from scratch: Most design software offers business card templates as starting points.
- Set up your canvas: Standard US business card size is 3.5" x 2" (88.9mm x 50.8mm). Include bleed area (usually 0.125" or 3mm) beyond the trim edge.
- Add your logo and contact information: Ensure your logo is high-resolution (vector format is ideal).
- Select colors and fonts: Stick to 2-3 colors and fonts for a cohesive look.
- Incorporate visual elements: Add shapes, lines, or patterns that complement your design without overwhelming it.
- Review and refine: Step back and assess the overall balance and readability of your design.
- Create front and back designs: Utilize both sides of the card for maximum impact.
Printing Your Business Cards at Home
Preparing Your Printer
- Clean print heads: Run your printer's cleaning cycle to ensure optimal print quality.
- Update drivers: Ensure you have the latest printer drivers installed for best performance.
- Calibrate color settings: Use your printer's color calibration tools for accurate color reproduction.
Step-by-Step Printing Guide
- Prepare your design: Ensure it's sized correctly and saved in a high-resolution format (minimum 300 DPI).
- Configure printer settings:
- Set to highest quality print mode
- Select the appropriate paper type and thickness
- Choose borderless printing if available
- Test print: Do a sample run on regular paper to check alignment and colors.
- Load cardstock: Follow printer instructions for thick paper, usually through a rear or manual feed tray.
- Print in batches: Start with a small batch (10-20 cards) to ensure quality before doing a larger run.
- Allow drying time: Let cards dry completely to prevent smudging, especially with inkjet printers.
- Cut cards: If printing on larger sheets, use a paper cutter for clean, straight edges.
Advanced Techniques for a Professional Finish
Embossing
Create raised text or designs for a tactile experience:
- Purchase a home embossing kit (available from craft stores).
- Apply embossing ink to your design using a stamp or stencil.
- Sprinkle embossing powder over the wet ink.
- Shake off excess powder and heat with a heat gun to create the raised effect.
Foil Stamping
Add metallic accents for a luxurious touch:
- Design areas for foil application in your card layout.
- Print your design, leaving foil areas blank.
- Use a laminator with special foil transfer sheets (available in various colors).
- Run cards through the laminator to transfer foil to the blank areas.
Edge Painting
Color the edges of your cards for a premium look:
- Stack cards tightly and secure with binder clips.
- Sand the edges lightly for a smooth surface.
- Apply edge paint with a sponge or brush.
- Allow to dry completely before separating cards.
Sustainable Practices in Business Card Creation
As environmental concerns continue to grow, consider these eco-friendly options:
- Recycled paper: Look for 100% post-consumer recycled cardstock.
- Seed paper: Biodegradable paper embedded with seeds that can be planted after use.
- Soy-based or algae-based inks: More environmentally friendly than traditional petroleum-based inks.
- Digital alternatives: Offer a QR code that leads to a digital business card or online profile.
- Tree-free paper: Made from alternative fibers like bamboo, hemp, or agricultural waste.
Maximizing the Impact of Your DIY Business Cards
Strategic Distribution
- Networking events: Always have cards on hand at industry gatherings and conferences.
- Digital integration: Include your physical card info in email signatures and online profiles.
- Local businesses: Leave cards at complementary businesses (with permission) for cross-promotion.
- Follow-up tool: Use your card as a conversation starter in follow-up emails or messages.
Tracking Effectiveness
- Use unique QR codes or URLs for each batch of cards to track engagement.
- Create different designs for different purposes and monitor which yields the best results.
- Collect feedback on your card design from recipients to continually improve.
Troubleshooting Common Issues
Blurred Text or Images
- Ensure your design is high resolution (at least 300 DPI).
- Check printer settings for quality options and use the highest setting available.
- Clean printer heads and ensure you're using the correct paper settings.
Paper Jams
- Fan out cardstock before loading to separate sheets.
- Load fewer sheets at a time to reduce stress on the printer.
- Adjust printer settings specifically for thick paper or cardstock.
Uneven Cutting
- Invest in a high-quality paper cutter with a self-sharpening blade.
- Use a cutting mat and metal ruler for precision when cutting by hand.
- Mark cutting lines lightly in pencil before cutting to ensure straight edges.
Color Inconsistency
- Calibrate your monitor to ensure what you see matches printed output.
- Use ICC color profiles for your specific printer and paper combination.
- Print a test color chart to adjust settings for accurate color reproduction.
The Future of Business Cards
While physical cards remain relevant in 2025, emerging trends include:
- NFC-enabled cards: Instantly share digital info with a tap, bridging physical and digital networking.
- E-ink display cards: Changeable information on a single card, reducing waste and allowing real-time updates.
- Biodegradable materials: Cards that dissolve after a set period, addressing environmental concerns.
- Augmented Reality (AR) cards: Plain cards that come to life with animations and 3D elements when viewed through a smartphone camera.
Conclusion: Crafting Your Professional Image at Home
Creating professional business cards at home is not only possible but can be a rewarding and cost-effective process. With the right tools, materials, and attention to detail, you can produce cards that rival professionally printed ones. Remember, your business card is often the first tangible representation of your brand that a potential client or partner receives. Make it count by putting thought and care into every aspect of its creation.
By following this comprehensive guide, you'll be well-equipped to design and print business cards that make a lasting impression, all from the comfort of your home office. Embrace the DIY approach, and let your creativity shine through in every card you hand out. Your unique, personalized business cards will help you stand out in a crowded marketplace and open doors to new opportunities.
As technology continues to evolve, the art of creating business cards at home will undoubtedly advance as well. Stay curious, keep experimenting with new techniques and materials, and remember that your business card is more than just contact information—it's a powerful tool for making meaningful connections in both the physical and digital realms.